Adding a video gallery with both self-hosted videos and videos from sources like YouTube and Vimeo to your website has never been easier
Take a look at a stunning video gallery we created using Modula in no more than 30 seconds, and keep scrolling to see how easy it was to set it up…
Step 1 – Create your gallery
First, you’ll need to either create a new gallery or edit an existing one. You should find creating your first gallery using Modula really easy. But, just in case you run into some issues here’s a brief explanation that should clear things up for you…

- To create a new gallery, head to Modula > and click “Add New”.
- This wil automatically take you to the gallery edit screen so you can start working on your gallery right away.
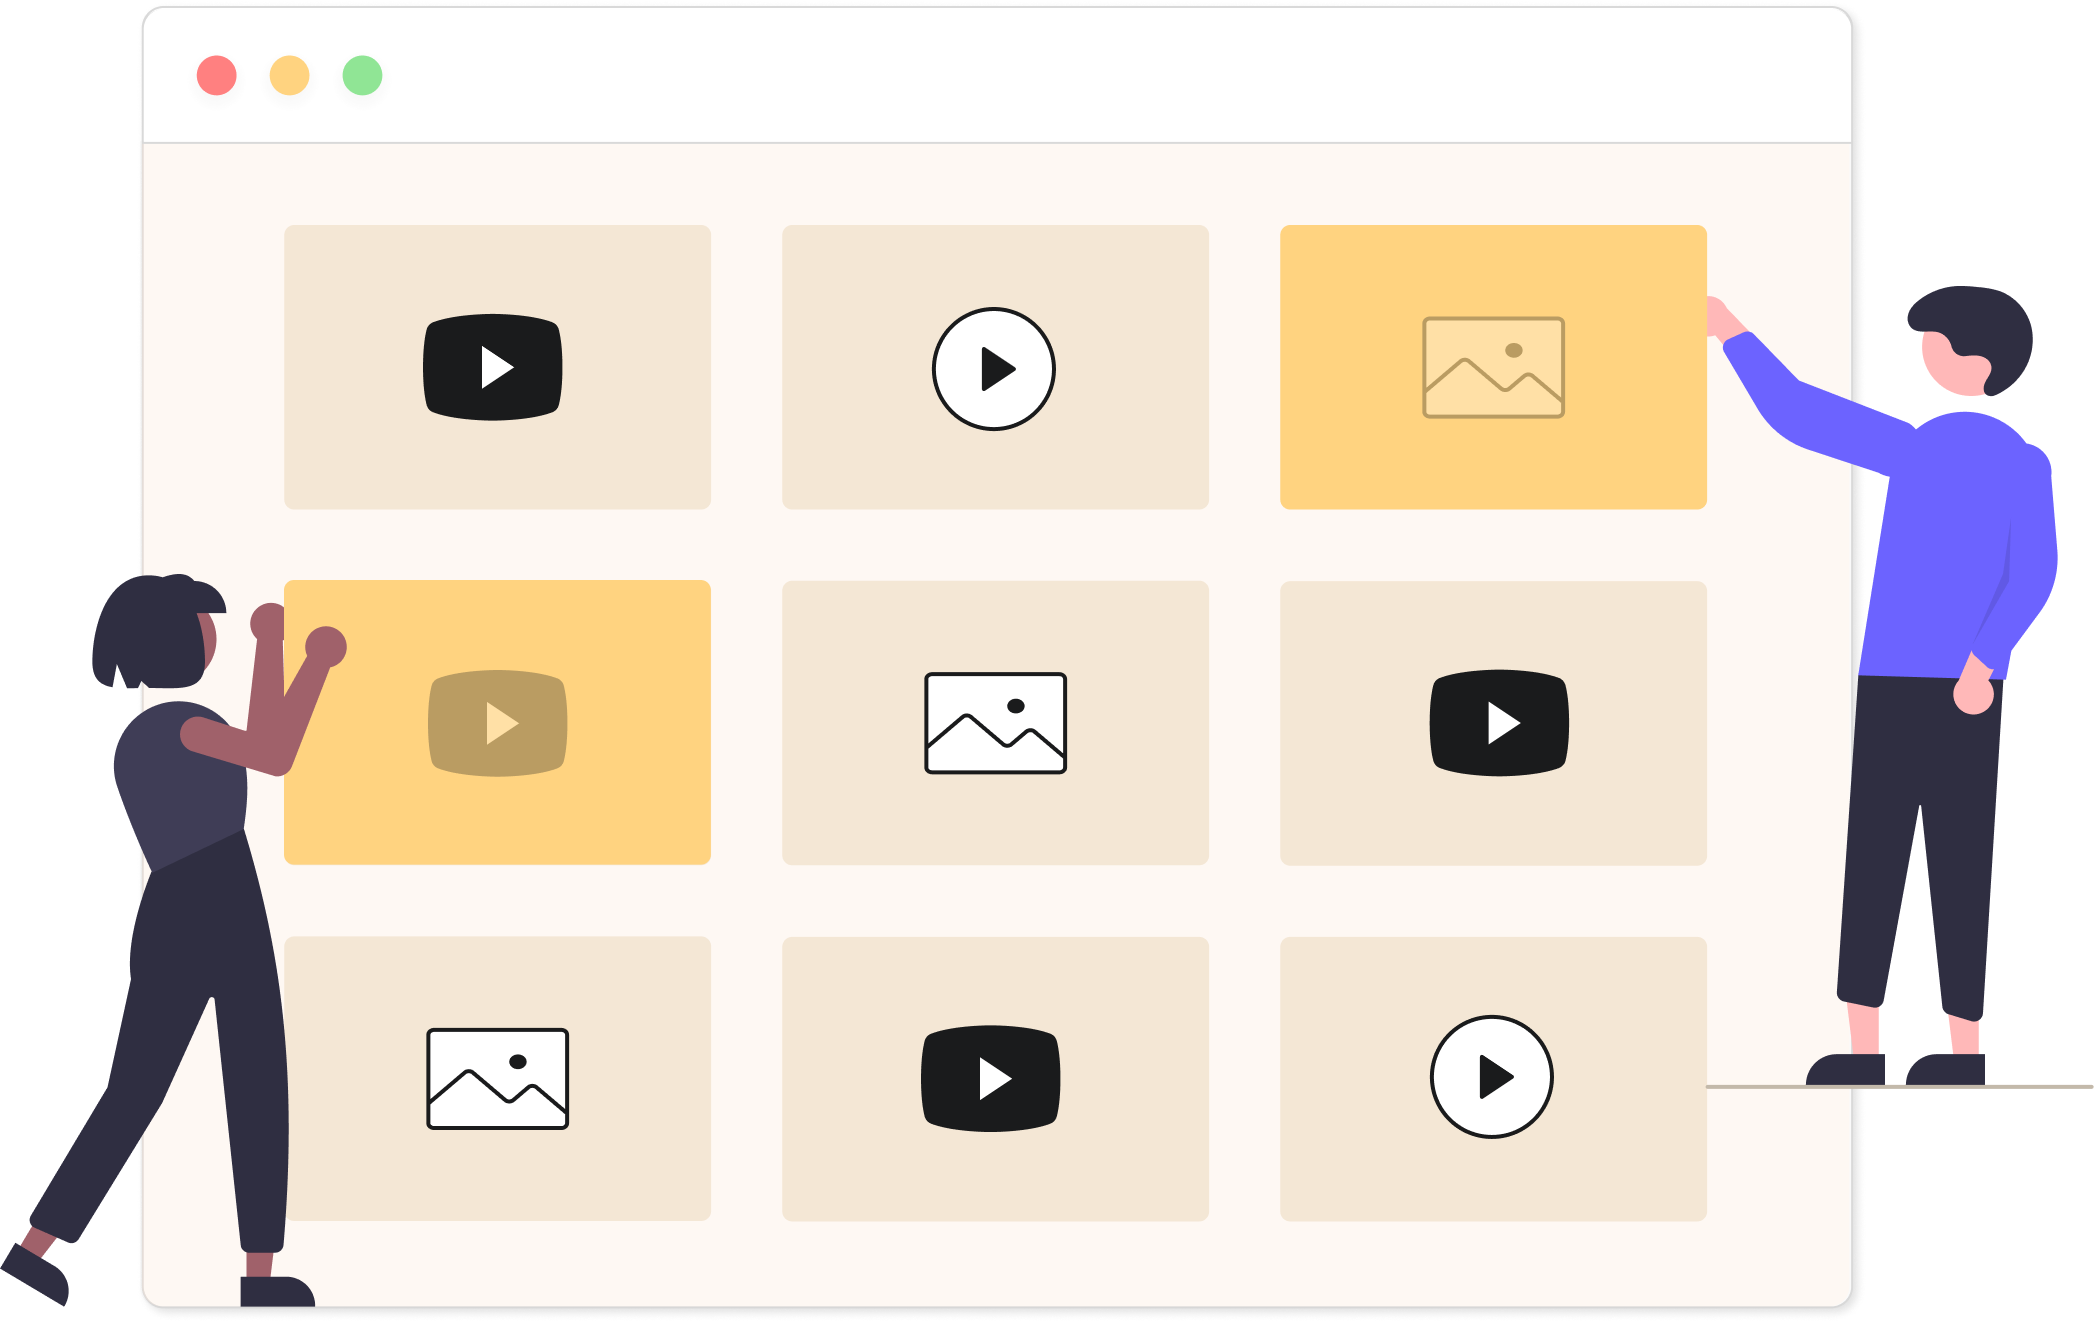
Step 2 – Upload video thumbnails
Now it’s time to upload some video thumbnails – this is what people will see before they click the play icon on your videos.

To do this, click Upload Image Files, Select from Library or simply drag your desired thumbnails into the gallery edit area to upload and insert your images into your gallery.
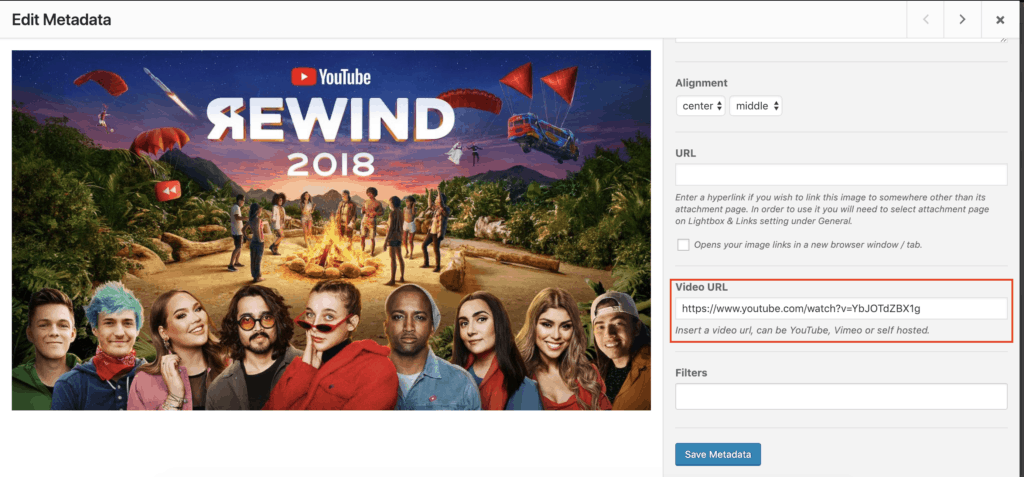
Step 3 – Choose your videos
Once you’ve uploaded your own video to your WordPress media library or chosen one from a source like YouTube or Vimeo, you can easily add it to your video gallery. Just by pasting the link under your thumbnails image settings as shown below…
Step 4 – Publishing your gallery
The final step is to Publish your new video gallery for the world to see, and copy & paste the shortcode into any post or page where you want it to appear.

And that’s it! You’ve now created an video gallery!